The AI Image QA Checklist: What to Inspect Before You Publish
Most bad generated images are not obviously bad. They pass a glance and fail a second look. A fixed checklist turns that second look into a habit.
21 de setembro de 2026
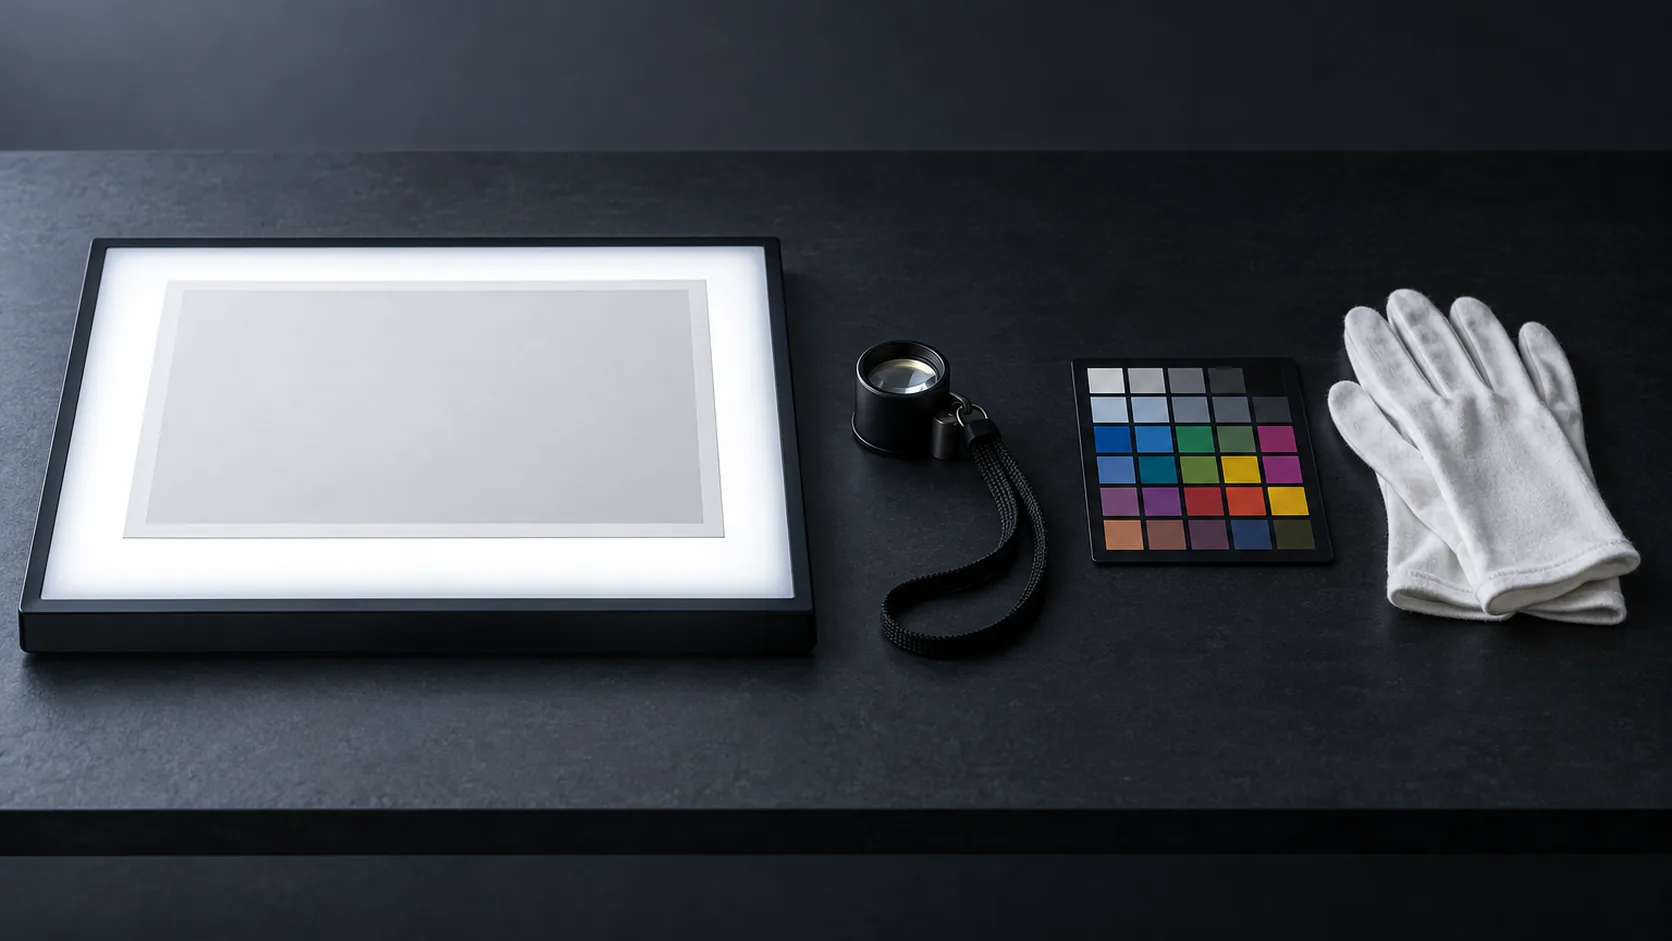
Generated images fail in a specific way: they look convincing at a glance and fall apart under inspection. That is not a reason to distrust AI imagery. It is a reason to run a fixed pass before publishing, so the second look always actually happens.
Review in three views
One view is never enough. Use three, in this order:
- Thumbnail — the size most of your audience will first see. Check weight, composition and whether the subject reads at all.
- At 100% — scan in a grid pattern rather than staring at the centre. Artefacts cluster at edges, in backgrounds and inside small objects.
- In the set — place the image beside the others in the same campaign. This is the only view that exposes palette and light drift.
Most defects are found in view one and view two. Most inconsistency is found only in view three, which is why single-image approval is the most expensive shortcut in the workflow.
The checklist
Run these eight groups every time. It takes two minutes on a clean image and saves hours on a bad one.
1. Anatomy and physics
- Hands: count fingers, check joints and thumb placement
- Eyes: both looking the same direction, pupils consistent, lashes plausible
- Teeth: count and shape, especially in smiles
- Limbs and posture: no fused arms, extra joints or impossible bends
- Object weight: shadows and contact points consistent with the object's mass
2. Object integrity
- Straight lines actually straight: table edges, frames, packaging, architecture
- Repeated patterns consistent: tiles, buttons, stitching, text rows
- Reflections match the scene
- Nothing merged into the background that should be separate
3. Text and symbols
- Any text in the image is either intentional or removed — never accidental
- No fake logos, brand marks or watermark fragments
- No signage, labels or packaging text unless you placed it yourself afterwards
4. Edges and crop
- Subject not touching or crossing the frame edge unless intended
- Required negative space is genuinely empty
- No soft halo or clipping where subject meets background
- Shadow edges behave the same way across the image
5. Brand fit
- Palette drawn from the approved set
- Light direction matches the rest of the campaign
- Treatment reads as specified: matte, glossy, grainy, clean
- Accent colour within its agreed area
6. Technical
- Resolution sufficient for the largest placement, with headroom for cropping
- Correct aspect ratio for the destination
- No compression artefacts or banding in gradients
- Colour looks right on a second screen, ideally a phone
7. Rights and claims
- Commercial terms of the tool cover this use
- No recognisable real person unless you have the right to use their likeness
- No implied endorsement, certification or documentary claim the image cannot support
- No third-party trademarks reproduced by accident
8. Metadata
- Descriptive alt text written by a person
- Caption accurate about what the image shows
- File named consistently with the project convention
The rights questions deserve their own careful pass; commercial use of AI images covers the licensing side in more depth.
The defects that pass a glance
Five problems reliably survive casual review. Learn to look for them deliberately:
- Background objects that almost make sense. A second cup that merges with the saucer, a chair with one leg too many, a plant growing out of a table edge.
- Unreadable text that looks readable. Lettering that is illegible but placed like a real sign, label or screen. It draws the eye and reads as fake on a second look.
- Perfect symmetry where it should not exist. Eyebrows, earrings, pockets and shirt buttons that mirror in ways real objects do not.
- Over-smoothed surfaces. Skin, fabric and paper with no grain. Clean is fine; featureless is a tell.
- Shadow direction reversal. Two objects in one frame lit from opposite sides, which the eye notices before the brain explains.
Fix, regenerate or reject
Not every defect deserves the same response. Decide quickly with a simple rule:
- Crop or edit when the defect sits at an edge, in the background, or in a corner you can remove without changing the composition.
- Regenerate when the defect is in the subject: hands, face, product detail or the object the image is about.
- Reject the brief when the same class of defect appears across a whole batch. Three images with warped hands is not bad luck; it is a lighting or pose instruction that is fighting the model.
That third case is the one teams miss, and it is the most expensive. Batch-level defects come from the brief, not from the individual generation.
Record the result
Log three fields per asset: the approved file, the brief version, and the tool and date of generation. Add a short note when you reject an image for a repeatable reason.
Over a few months, that log becomes the most useful document in the pipeline. It tells you which brief wording keeps producing hands with six fingers, which light setup keeps crushing contrast, and which model is reliable for the subjects you actually generate. Review passes get faster because you stop re-discovering the same failure.
Make review independent
The generator should not be the only reviewer. This is not a trust issue; it is how attention works. When you generated the image, you see what you intended. A second person sees what is actually there.
If you work alone, simulate the separation with time: generate in a batch, review the next morning, and start with the thumbnail view. Distance does most of what a second reviewer does.
Do the pass once per format
A regenerated crop is a new image. Check it in every destination size, because a defect at the edge of a wide hero often survives into a square crop and lands directly on the subject. When a set shares one defect, do not correct image by image — score the set first with the consistency method and fix the brief, then regenerate. Batch-level defects are cheaper to prevent than to repair.
Run the pass, publish, and keep the approved asset with its brief. Then open the AI image generator for the next batch — the checklist gets shorter as your briefs get sharper, because more defects are prevented before generation than caught after it.
Perguntas frequentes
What are the most common defects in AI images?+
In order of frequency: malformed hands and fingers, warped or duplicated objects in the background, unreadable text artefacts on signs or packaging, unnatural eyes and teeth, and soft or inconsistent edges where the subject meets the background.
How many people should sign off before publishing?+
One reviewer who did not generate the image. Self-review skips defects systematically, because you already know what you intended to see.
Should I check generated images at full resolution?+
Yes, at 100% — and also as a thumbnail. Full resolution catches artefacts; thumbnail catches composition and weight. The two views find different classes of problem.
What about images that only appear very small on the page?+
Still run the full pass. Small placements hide defects from your audience but not from search engines, social previews or anyone who downloads the file.
Do I need to record the tool and prompt used?+
Keep the brief and the approved file together. If a defect is later found or a licence question arises, provenance is far easier to produce at the time than to reconstruct months afterwards.
Crie com kublaro
Descreva qualquer coisa e gere imagens incríveis em segundos; depois dê movimento com os melhores modelos de vídeo com IA.